User Workflows
Validation
Submitting a Validation
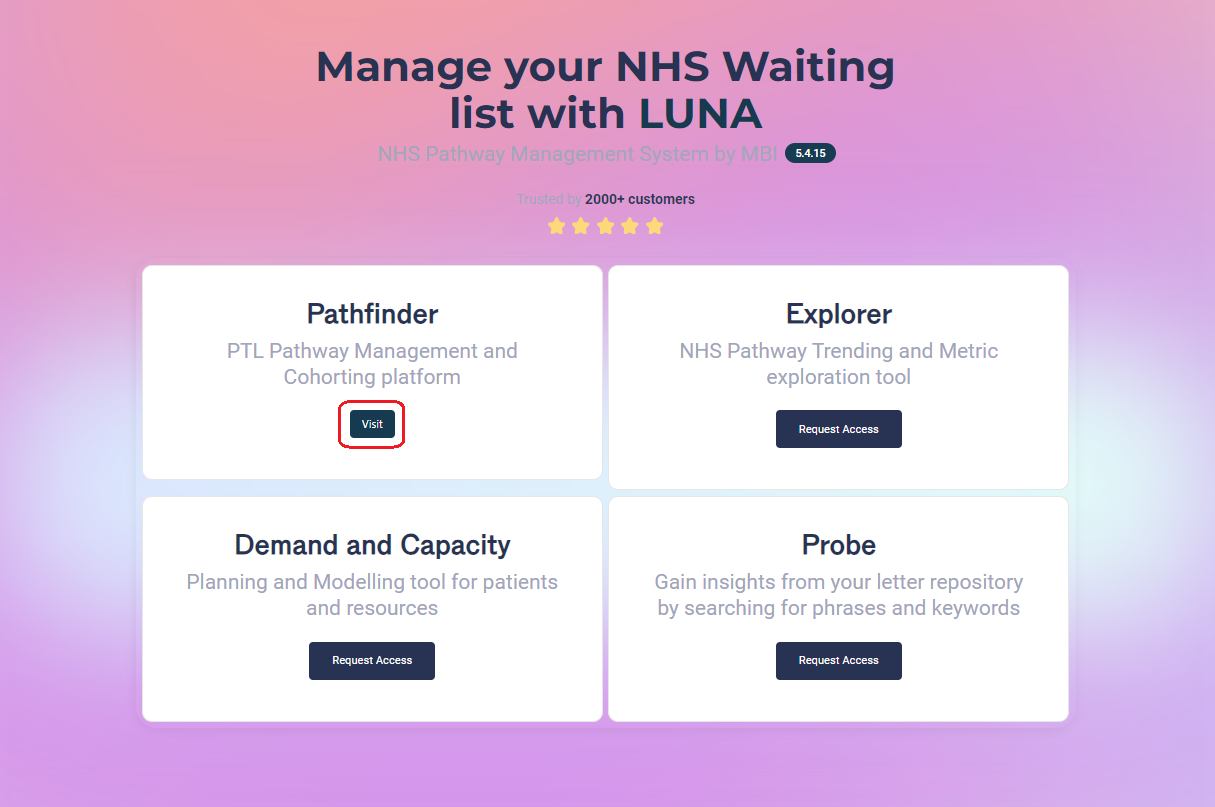
1. Open the Worklist
On the Enterprise landing page, click the Visit button for Pathfinder.
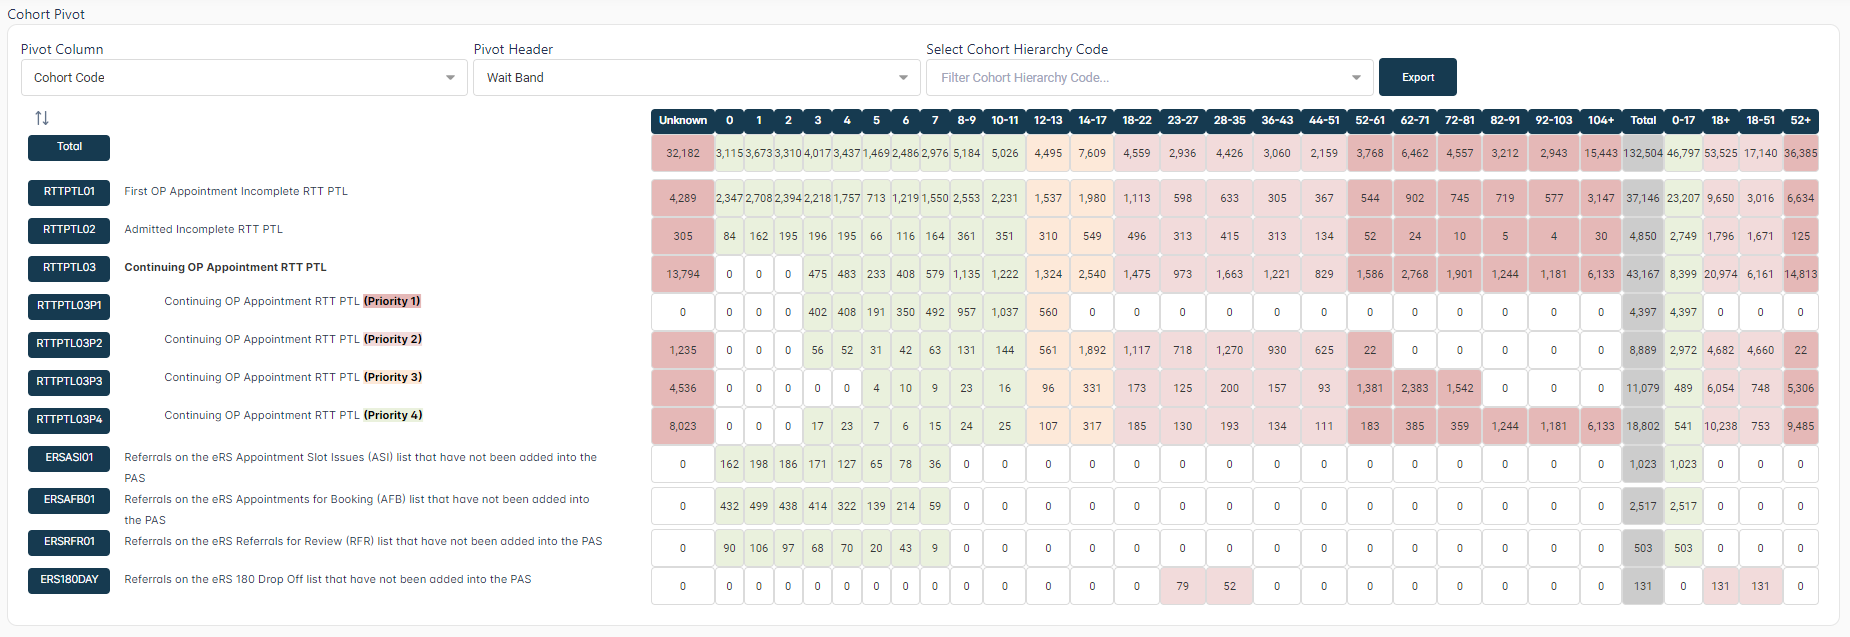
In the Cohort Pivot Grid, click a number to open the worklist for that cohort.

2. Select a Pathway for Validation
In the Worklist, select a pathway from the grid for validation by clicking on the row.
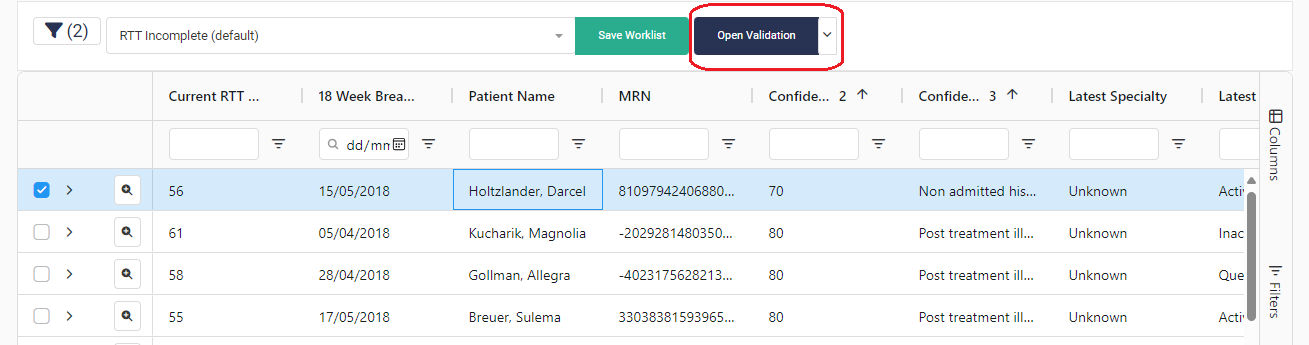
3. Open a Validation Form
The default form is the RTT Validation form. You can select another form by clicking the arrow icon on the right of the Open Validation button.
Alternatively, you can double-click on a grid row to open the currently selected form for that pathway.
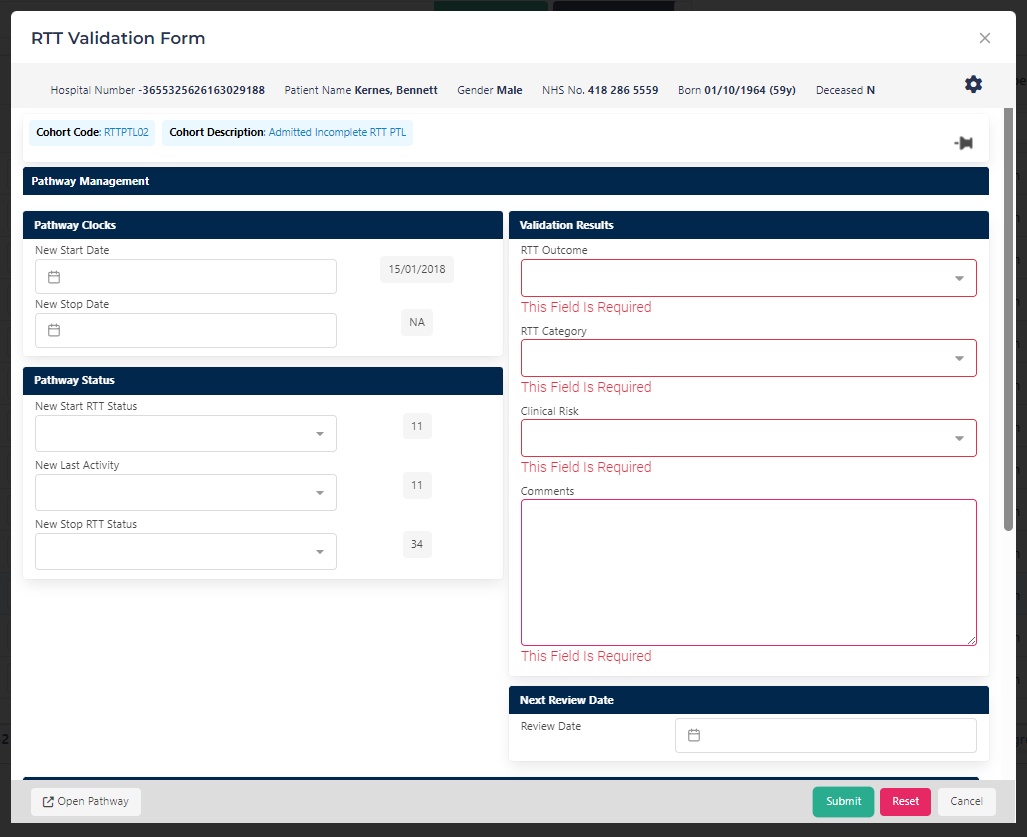
4. Complete All Required Fields
Complete all required fields in the form. If you submit the form without competing all the required fields, you will be prompted to complete them.
If the pathway has already been validated, the saved validation will be displayed. You can edit any of the pre-populated fields.
5. Save the Validation
When you are finished editing, click the Submit button to save the validation. The validation will be saved, and the validation form modal will be closed.
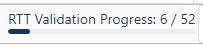
The worklist validation progress bar will be updated to reflect the new validation status.
5a. Navigate Between Pathways
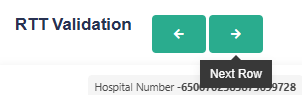
Alternatively, you can navigate through the pathways in the worklist without closing the form by clicking the Next or Previous buttons.
If you have made any changes to the form, the buttons will change colour from green to yellow. This indicates that the changes you have made will automatically be saved when navigating to the next or previous pathway.
Viewing and Resubmitting Historic Validations
There are several ways to view or resubmit historic validations:
Submission History
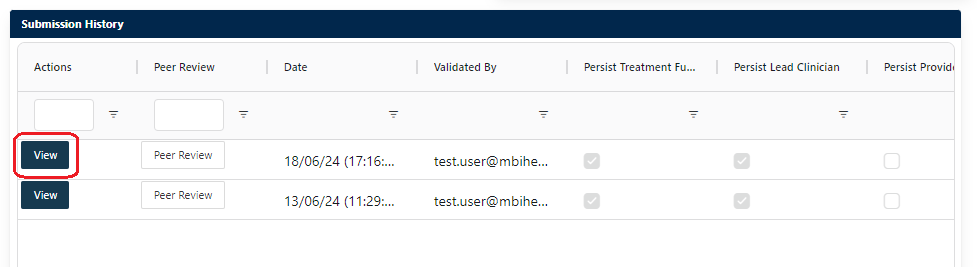
At the bottom of the validation form, the submission history for the pathway is displayed as a list of validations in grid format. All validation data is displayed.
To view the details of a completed validation, click the View button on the left-hand side of the row to open the historic validation form.
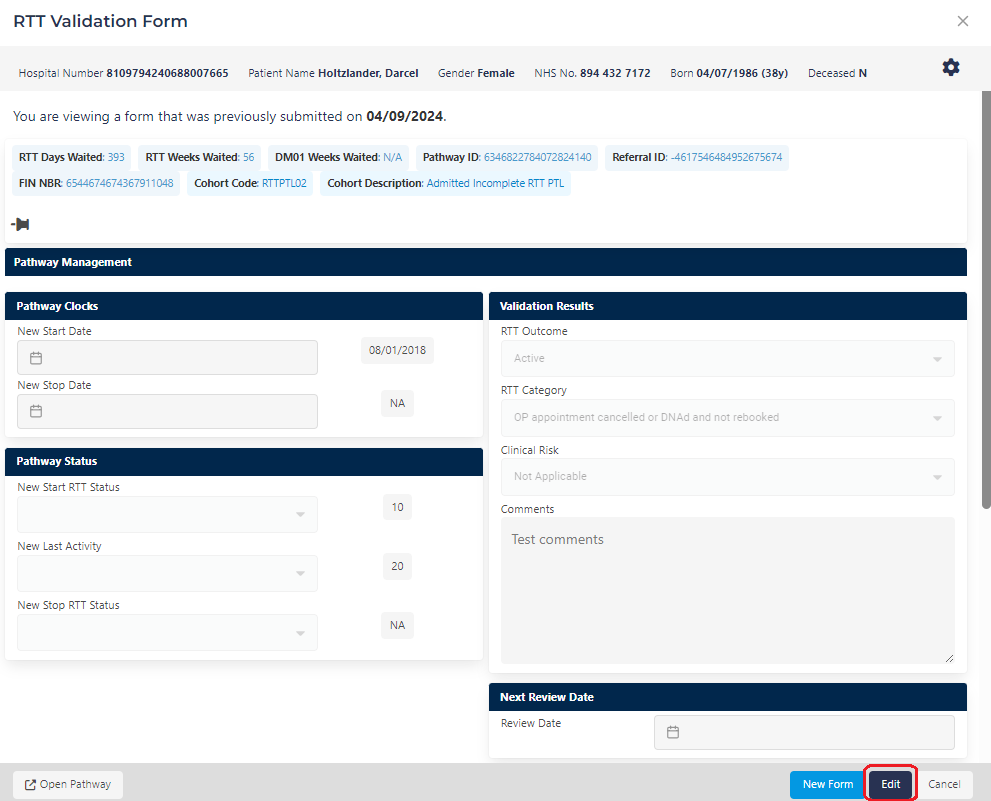
The form fields will be pre-populated with the data from the saved validation, and will not be editable.
To resubmit an historic validation, click the Edit/Load button in the form footer. This will retain the selected form values, while enabling user input.
Alternatively, you can click the New Form button to clear the form fields. When you are finished editing, click Submit to save your changes.
Activity Panel Validations Tab
Open the Activity Panel by clicking the Activity Panel button in the top navbar, then select the Validations tab to view a list of your validations and your daily validation count.
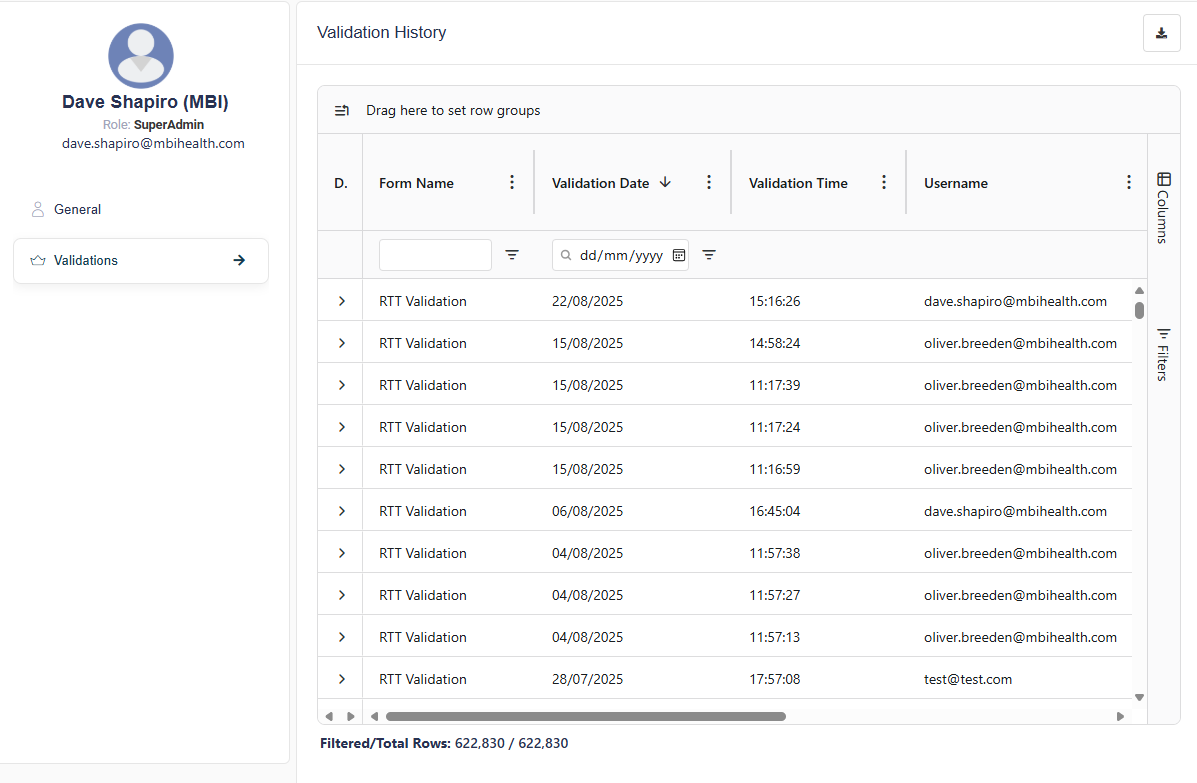
Profile Section Validations Grid
- Open the Profile menu by clicking on the User Profile icon in the top right corner of the screen, and selecting Profile from the dropdown menu.

- Select Validations from the menu on the left to open the Validations table.
Here, you can view all your completed validations. You can click the Validation button on the left-hand side of the row to open the historic validation form.
See the Validations section of the user guide for more information.
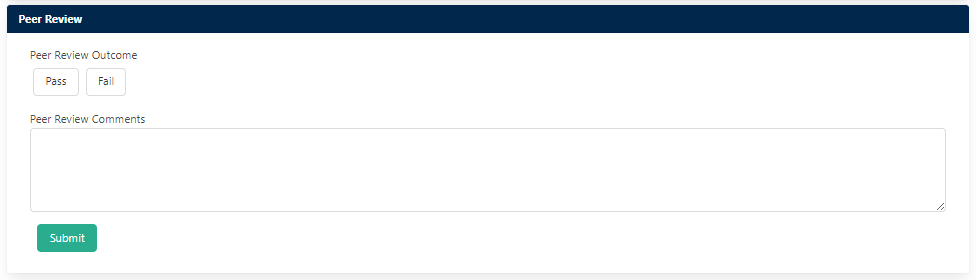
Peer Review
To submit a peer review of a completed validation, click the Peer Review button on the left-hand side of the Submission History row in the historic form to open the peer review section. You can select Pass or Fail, and enter your comments.
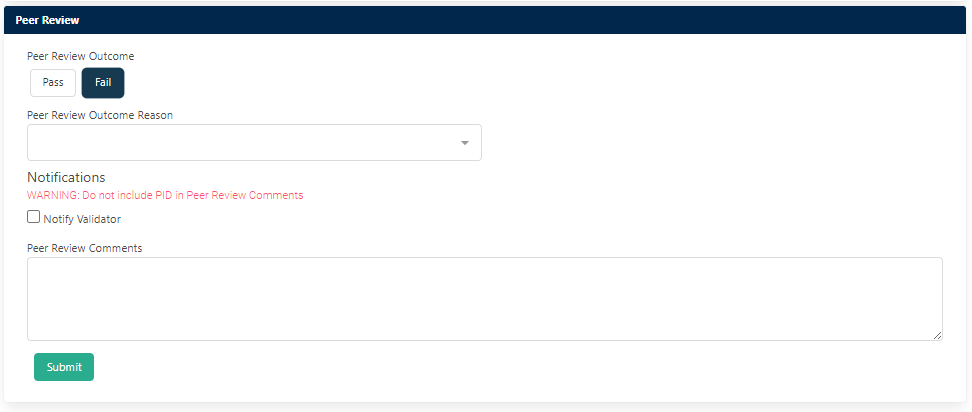
If you select Fail, you are required to select a reason for the failure from the dropdown menu. You can also choose to notify the validator of your review by clicking the Notify Validator checkbox.
Creating a Custom Template
You can create and save Templates to personalise your worklist view. The currently active template can be selected from the Template selector on the top left of the worklist.
Templates can include column selections, column filters, and sort orders.
Open a Worklist
Open a Worklist, as described in the Submitting a Validation section.
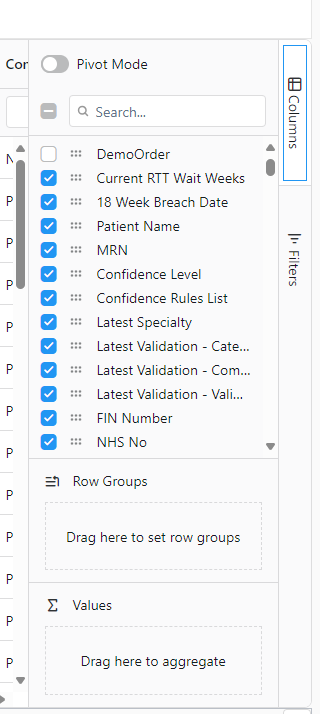
Add Custom Columns
You can add or remove columns to the worklist to display additional information about the pathways. Click the Columns button on the right of the worklist and select the columns you want to display.
Save your Template
Your Custom Templates. will preserve any changes that you have applied to the worklist, including:
- Columns that you have added or removed
- Column Filters that you have applied
- Changes to the sort order of the columns
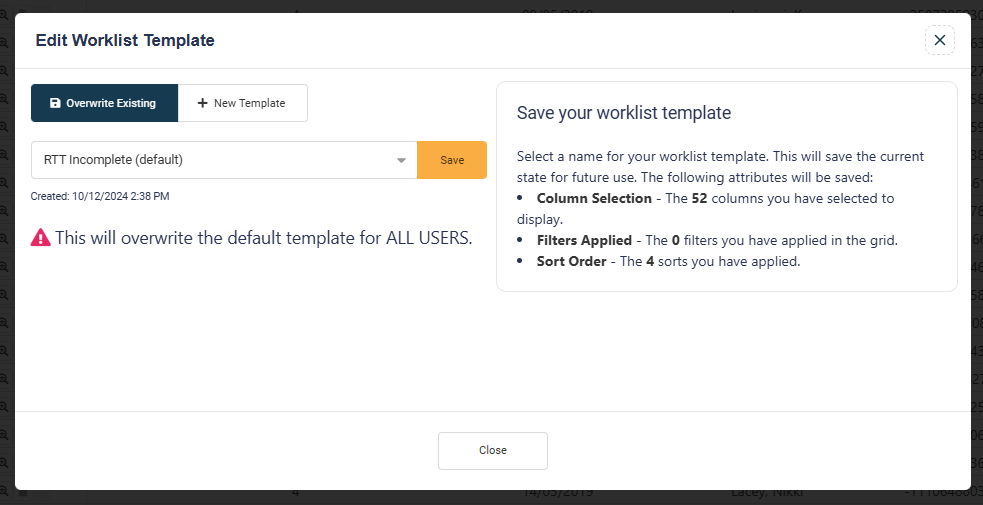
Click the Save Template button to open the Save Template modal.

You can choose to save a New Template or Overwrite an existing template.
To overwrite an existing template:
- Select the cohorts to include in the template.
- Click Save Changes to save the changes you have made to the existing template.
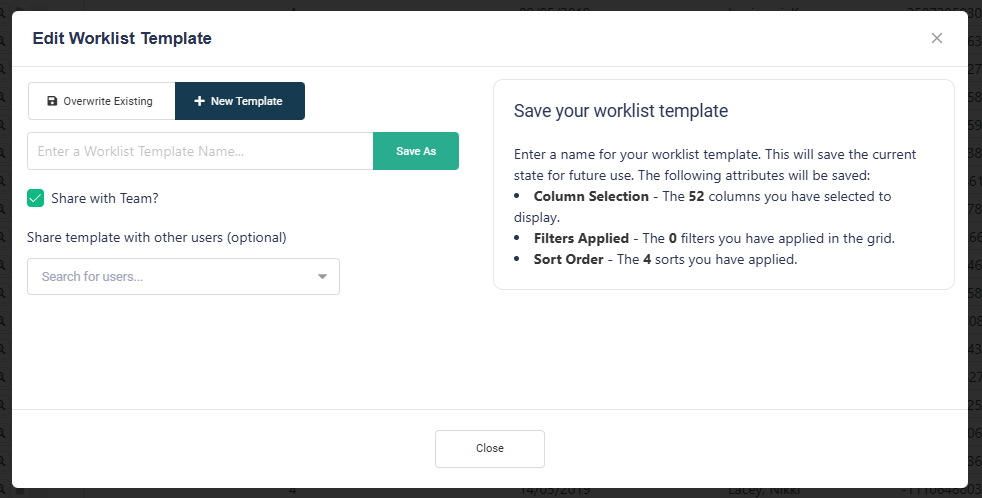
To save a new template:
- Enter a name for the template.
- Select the users and teams that you would like to share the template with.
- (Optional) Select the Share with All Users checkbox if you want to share the template with all users.
- Click the Save button.
Shared Worklists
⚠️ This feature is in preview and might display unexpected behaviour.
Separate worklists can be allocated to one or more validators individually by using the Share Worklist functionality.
Once a worklist has been shared, you can track it's progress in Enterprise.
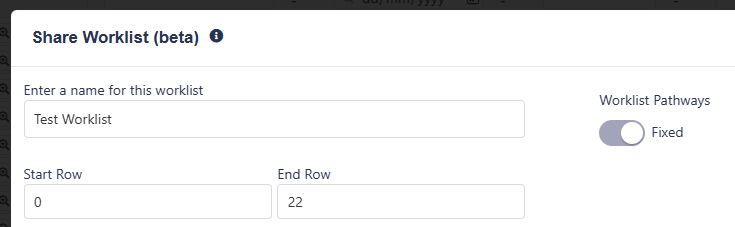
You can also name the worklist, select the users you want to share it with (or copy a link) and add any comments you want to include with the shared worklist.
A switch is also provided, which allows you to either share the dynamic list that will keep up to date (Full Worklist), or fix the worklist with an optional range to share a specific number of pathways (Fixed Pathways).
Note: The currently active Template will be saved with the shared worklist. This will be applied when the shared worklist is opened.
Sharing a Worklist
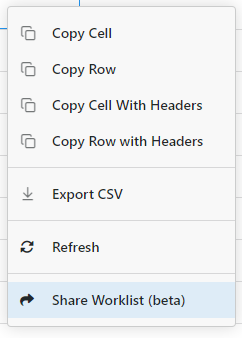
- Right click on any worklist you want to share, then select Share Worklist (beta) from the context menu.
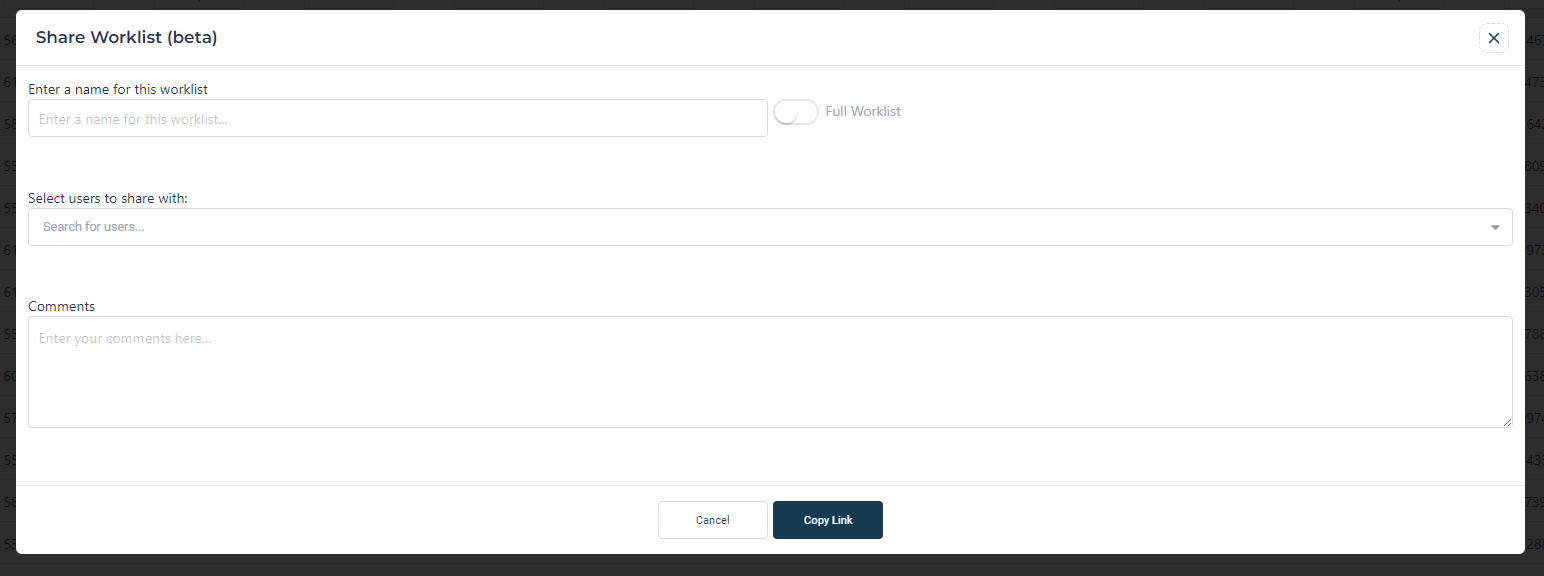
- Enter a worklist name in the provided field.
- Select the users you want to share the worklist with.
- Select any teams that you want to share the worklist with from the Teams dropdown. All users within the selected teams will have access to the shared worklist.
- Enter any comments you want to include with the shared worklist.
- Click the Share button to share the worklist or the Copy Link button to copy a link to your clipboard for manual sharing.
Additional Worklist Sharing Options
Worklist Pathways
You can choose to share either a Dynamic Pathways or a Fixed Pathways worklist.
- Dynamic Pathways: The worklist will update dynamically as pathways are added or removed from the worklist.
- Fixed Pathways: The worklist will be fixed to the current pathways in the worklist. The start and end row numbers will be shown, and can be adjusted as required.
Pathway Allocation
You can choose to either share all pathways in the worklist, or allocate specific pathways to each user.
- All Pathways: All pathways in the worklist will be shared with all selected users.
- Allocate Pathways: Pathways will be equally allocated to each user. You can specify the start and end rows for each user in the provided field.
Note: If allocating pathways for a dynamic worklist, the end row for the last user will not be defined.

Managing Shared Worklists
You can view shared worklists in the Shared Worklists tab of the Activity Panel.
Additional information on shared worklists can be viewed on the Shared Worklists Manager page in the Profile section.
Shared worklists can be edited, reshared (fixed-row worklists only), or deleted by users with the appropriate permissions. For more information, see the Editing a Worklist section of the user guide.
Managing Users
- Open the Profile menu by clicking on the User Profile icon in the top right corner of the screen, and selecting Configuration from the dropdown menu.
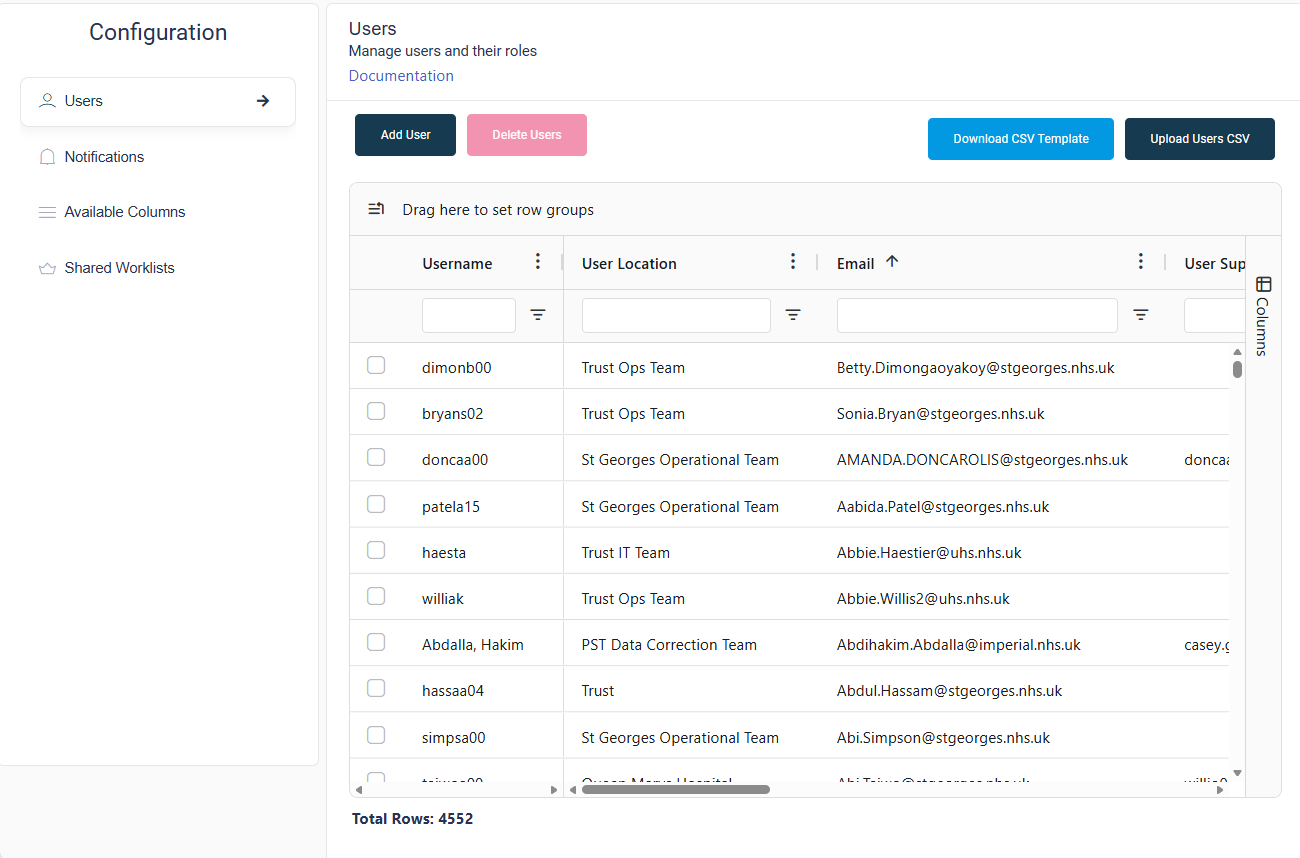
- Select Users from the menu on the left to open the Users table.
Adding a User
- Double-click a row to open the Add or Modify Users modal.
- Enter the user's details in the provided fields. Note: The email, and User Role fields are required.
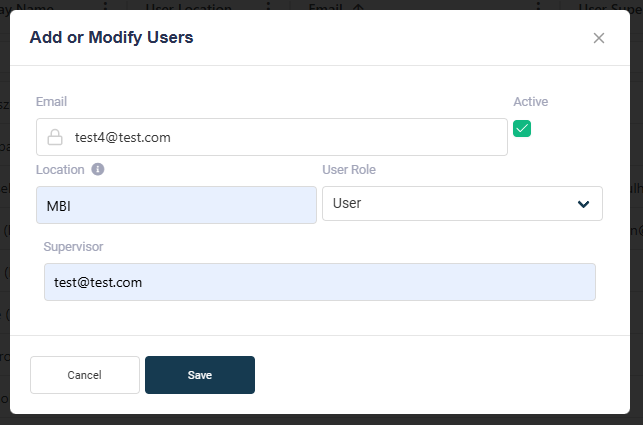
- Click the Save button to save the new user.
For more information, see the User Guide.
Editing a User
An existing user can be edited by double-clicking the relevant row in the Users table to open the Add or Modify Users modal.
Deleting a User
- Select the row you wish to delete by clicking the checkbox on the left of the row. You can delete multiple rows at once.
- Click the Delete Row button to delete the selected row(s).
Exporting a Worklist
Open a worklist that you want to export.
Right-click the worklist and select Export. You can export the worklist as a CSV or Excel file.
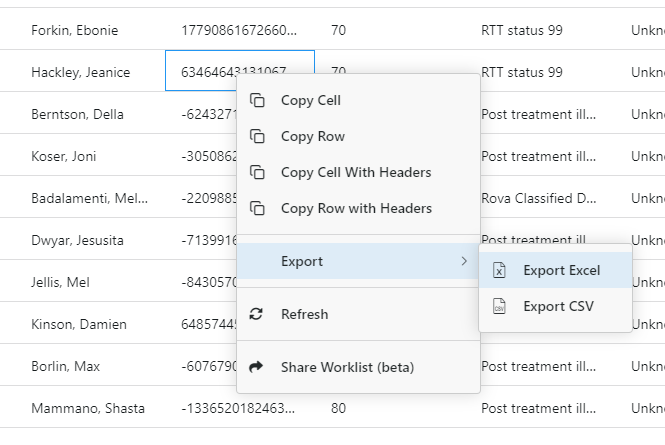
Alternatively, you can click the Export Excel button in the top right of the worklist to export the worklist as an Excel file.

Loading a Filter Combination
Click the Open Filters button in the top navbar to open the Filters panel.

If any filter combinations have been saved in your environment, the latest one will be applied when Pathfinder is loaded. The applied combination will be displayed on a tag at the top of the panel.

Click the Load button, or on the forementioned tag, to open the Load Filter Combination modal.
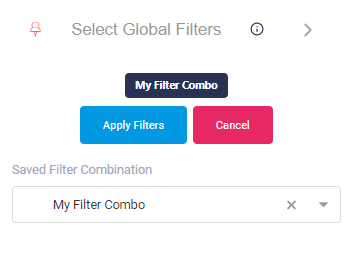
Select the filter combination you want to load from the dropdown list, then click the Apply Filters button to apply the selected combination. This combination will be applied if you refresh the page or navigate away from the page and return.
Searching for Pathways by ID

- Click on the search button to open the ID Search Bar.

- Select an ID type from the dropdown menu.
- Enter the ID in the search bar.
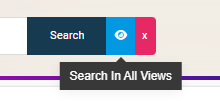
- You can switch between searching for pathways on all views, or returning only pathways which match the current View, by toggling the button with the Eye icon.
- Click Search. A worklist will be opened containing all pathways that match the entered ID.